🔔
The Basics of Project Editing
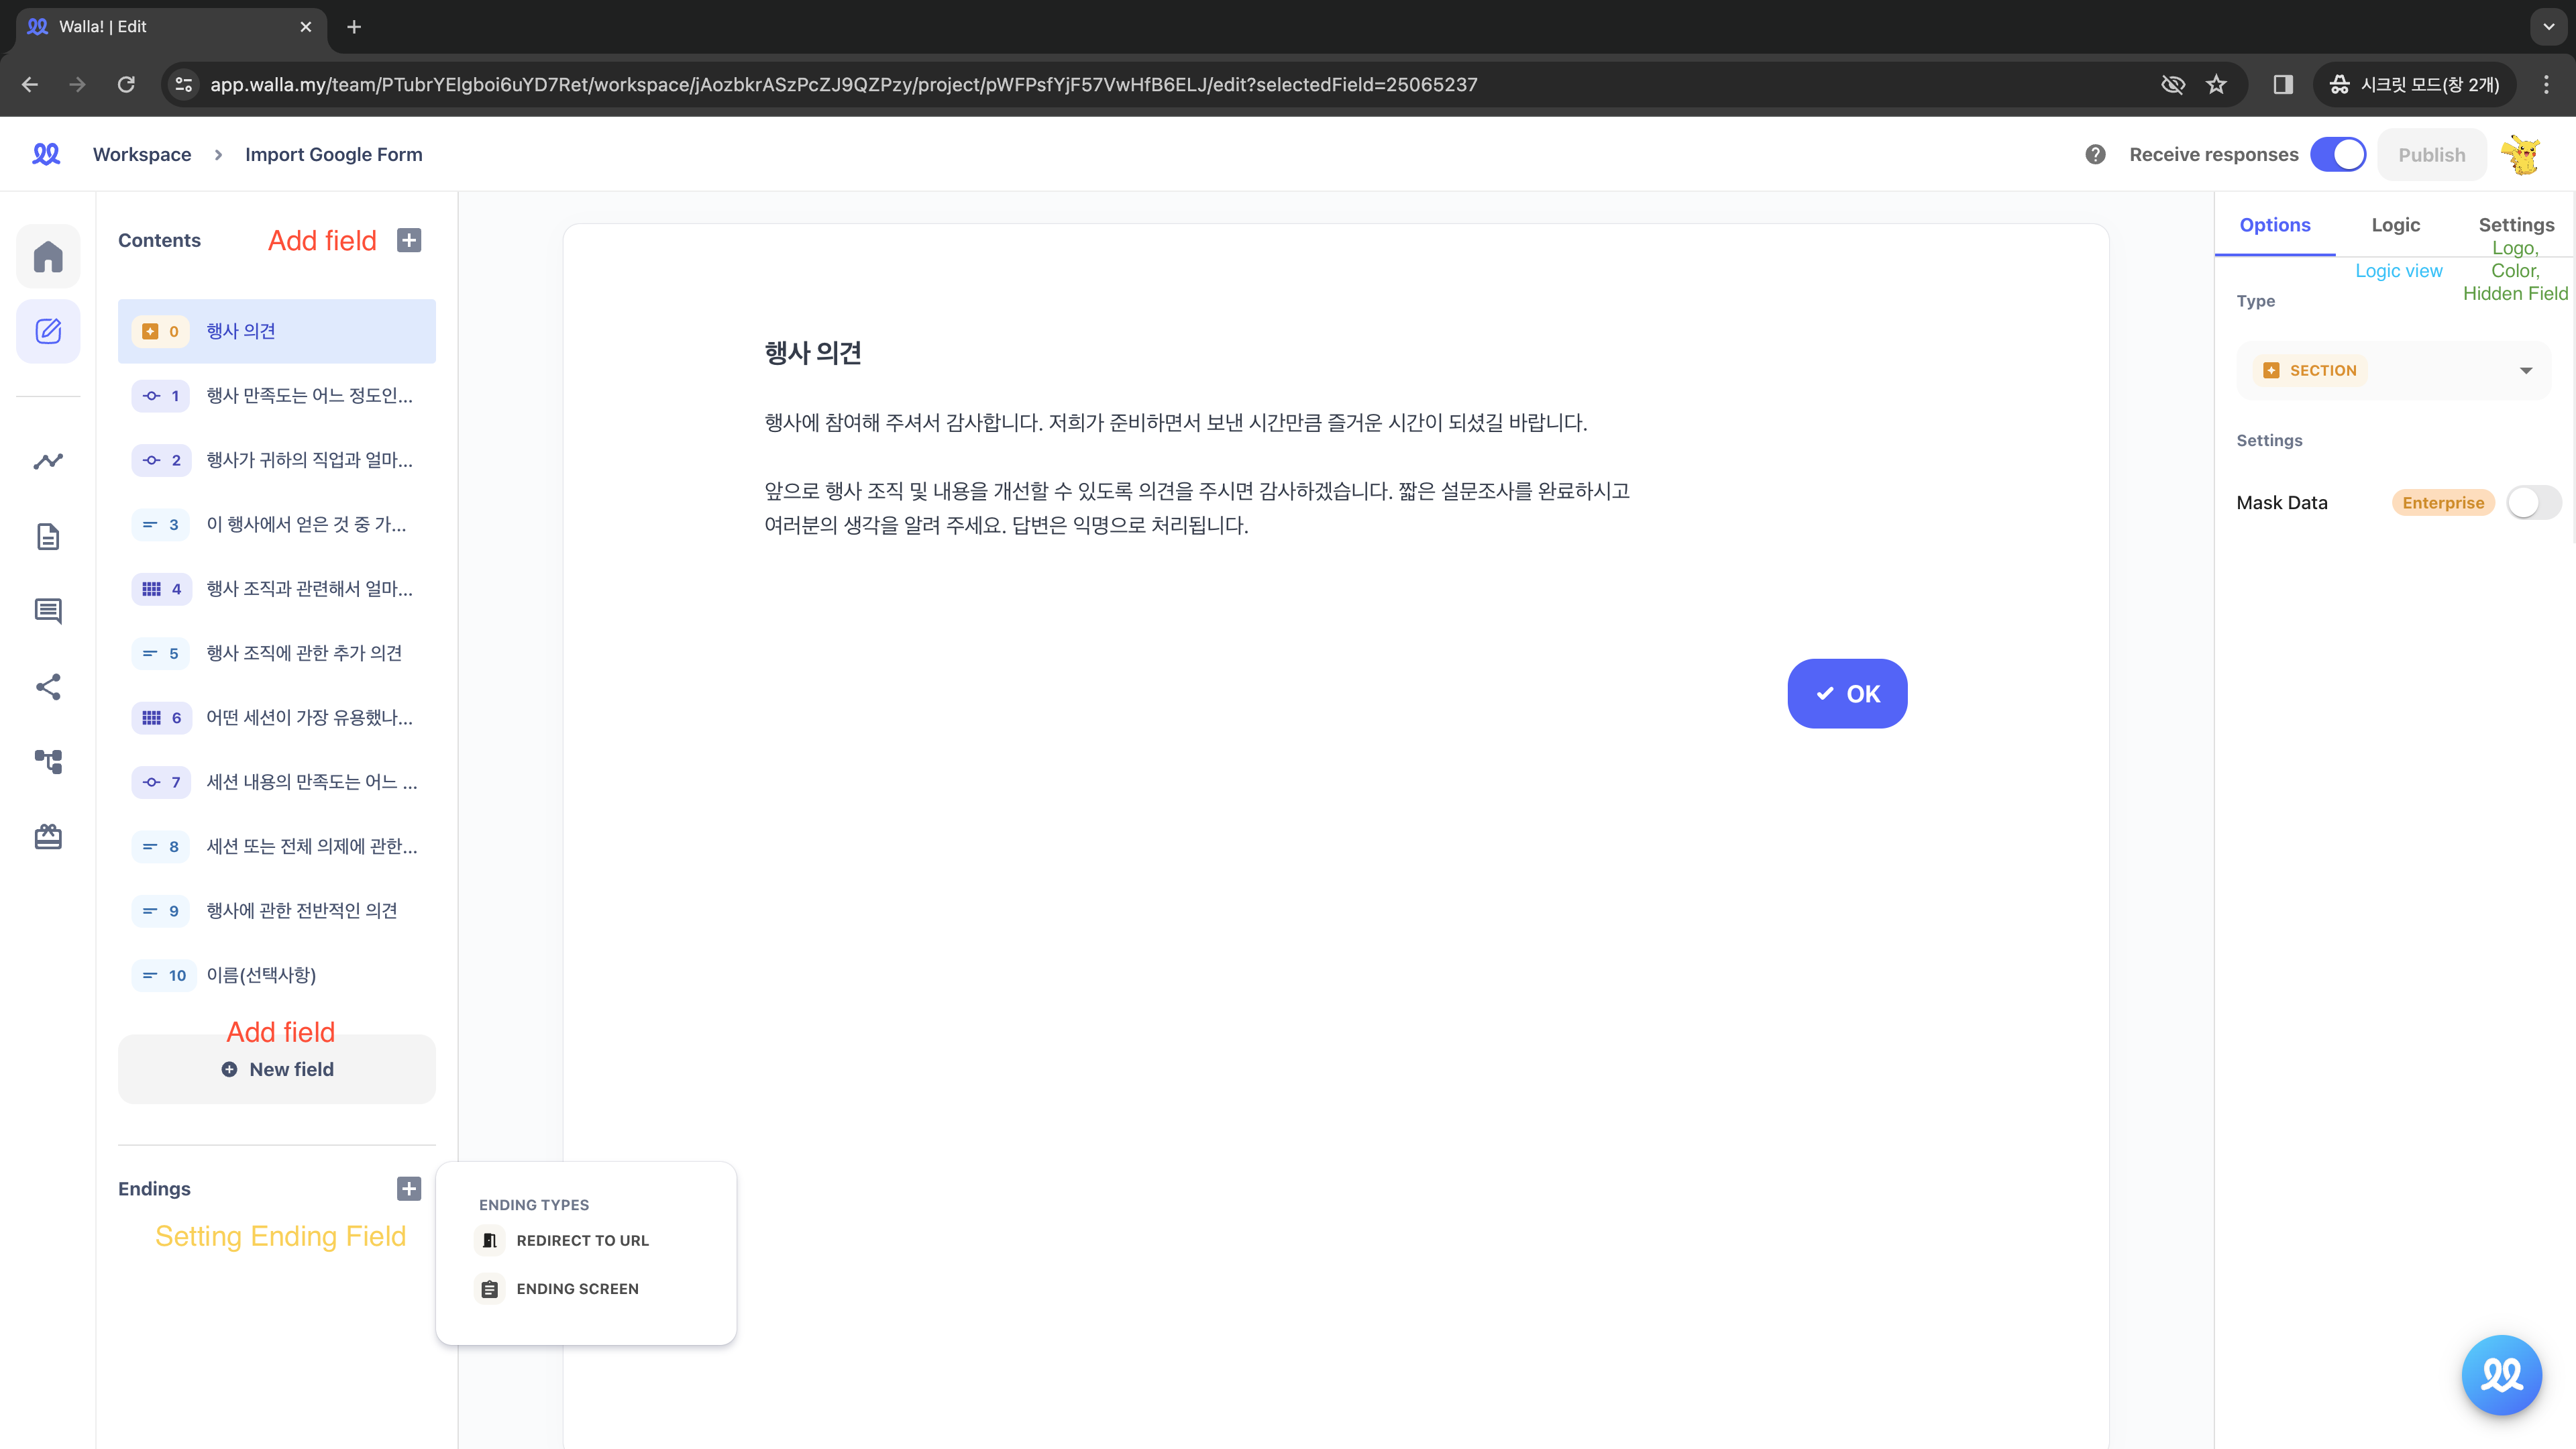
Add 'Fields' that you want to add to your form, and write down your questions and explanations.
- 'Through the 'Response Validation' setting, you can customize response types (number, text, length, regular expression) and error messages.
You can visually see how the survey will progress by viewing the 'Logic'.
- By clicking the 'Logic based on answers' button, you can set different questions based on the answers given.
In the 'Settings,' you can edit the survey's color, and add brand logo, and hidden fields.
Through the 'Ending Field', you can specify that upon survey completion, respondents are redirected to a
designated URL or shown an exit page (available from the Pro plan onwards).
Once edits of the project are finished, press 'Publish' Button to start receiving responses.
- Pressing 'Publish' activates the 'Accept Responses' button, allowing respondents to submit their responses. You can deactivate the project if you want to stop receiving responses.
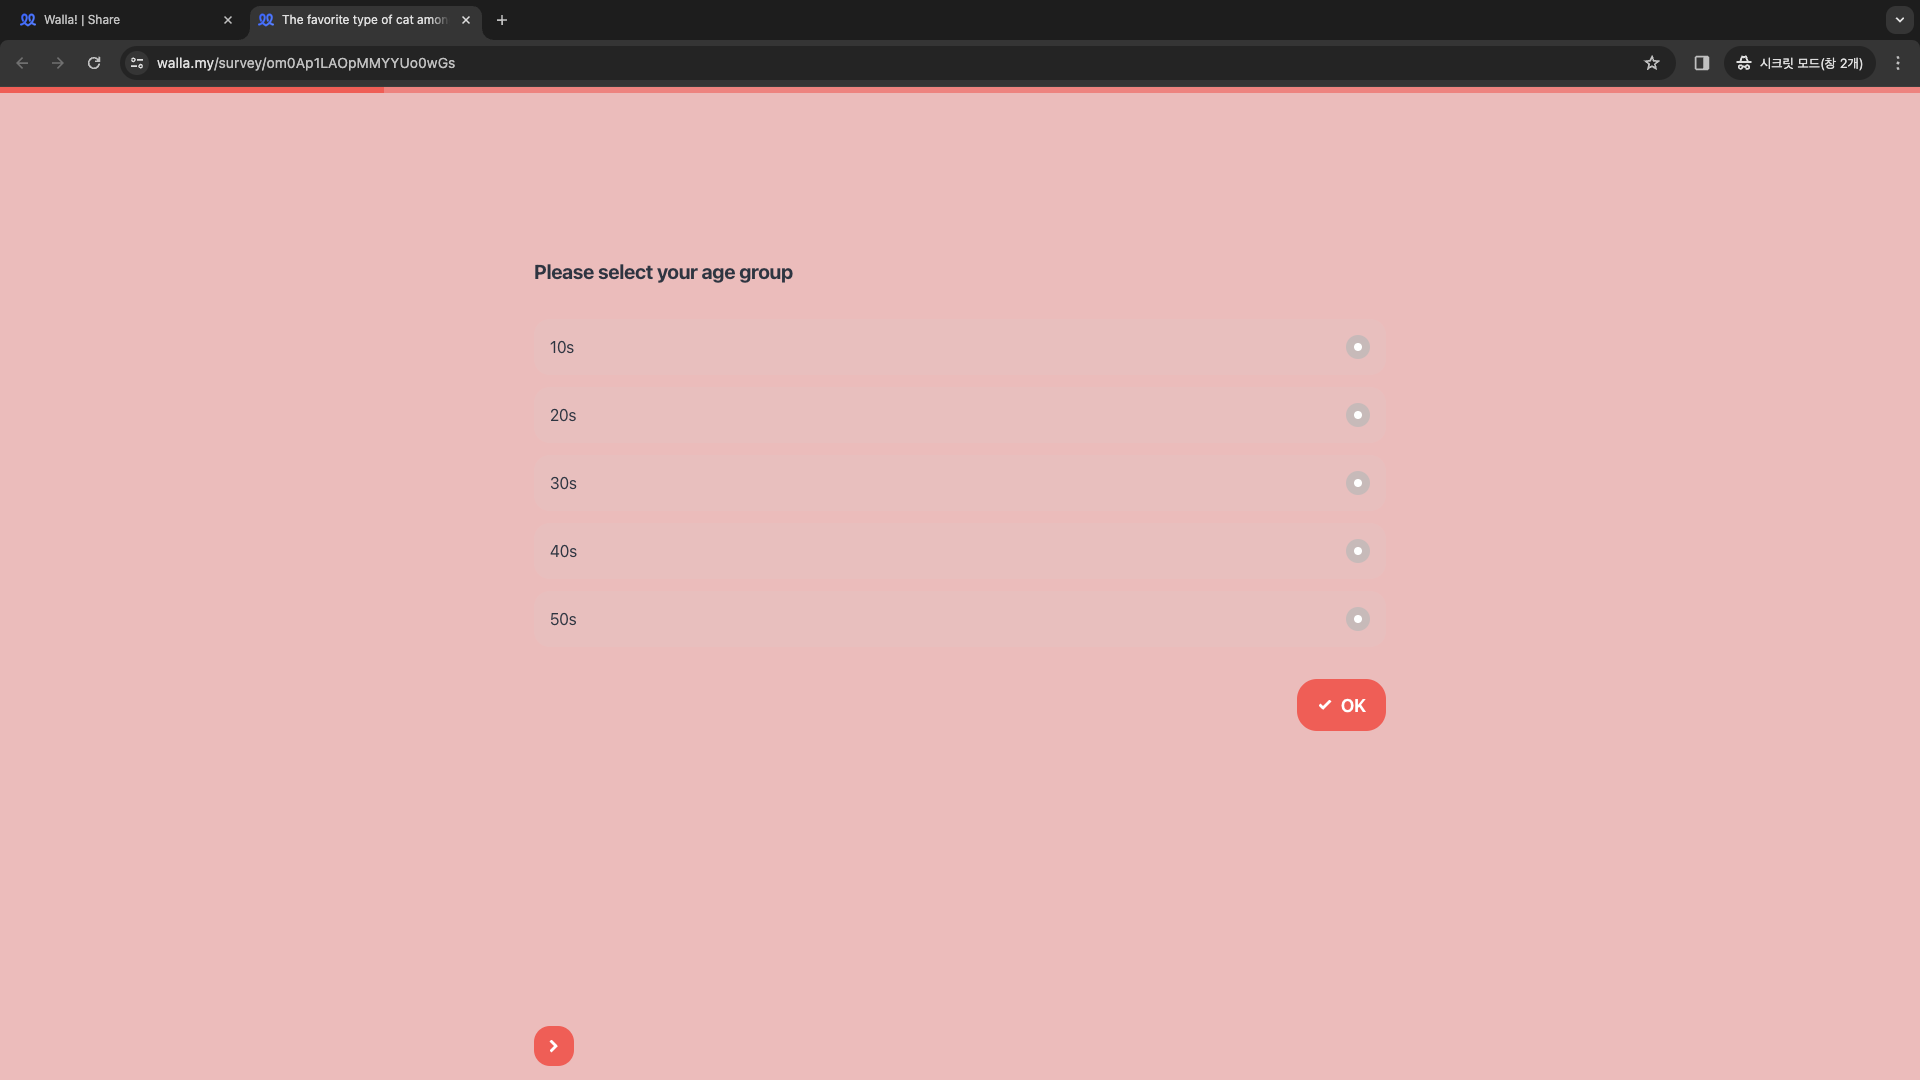
Changing Design
In the 'Settings' tab, adjust the background and button colours.
- Background colour refers to the survey background, while button colour includes the top bar, OK button, arrow, and 'Submit Response' button.

Adjusted Design of Walla Dashboard
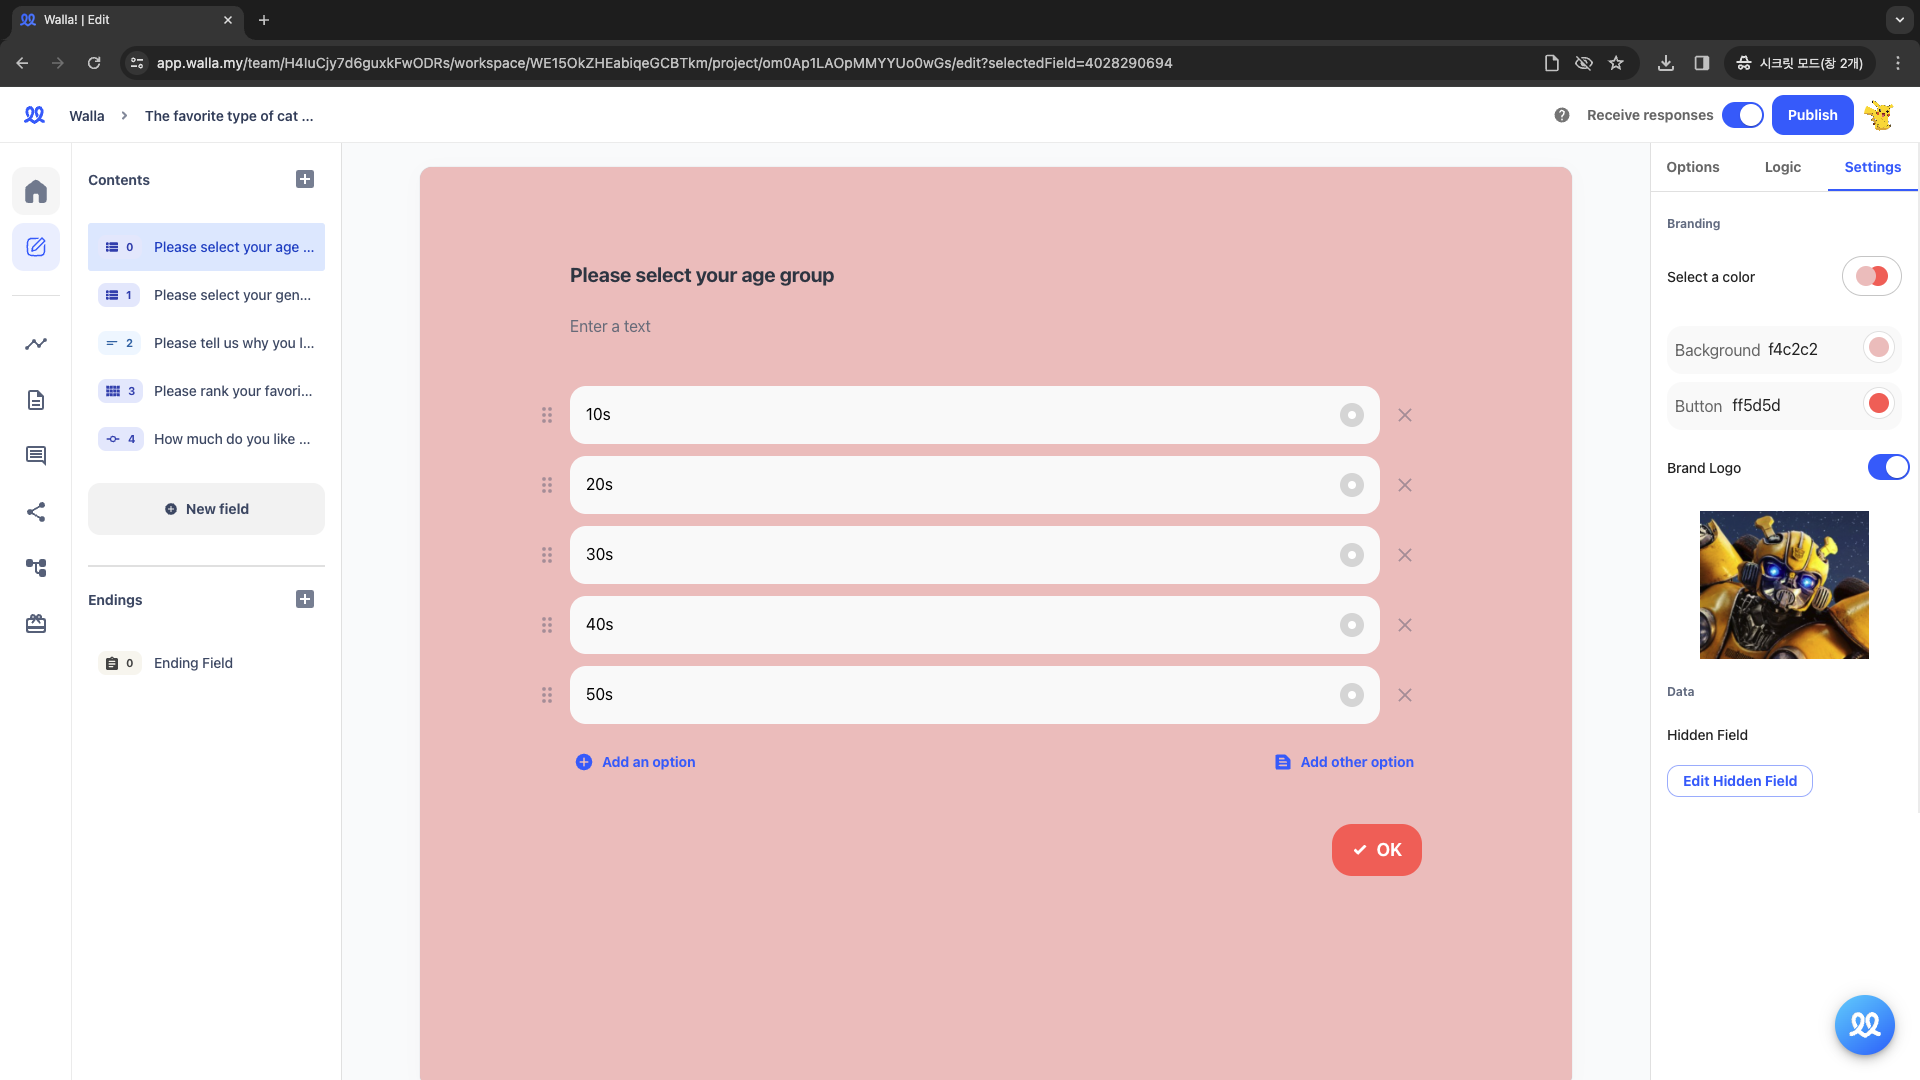
Adding Brand Logo
⚠️
Logo insertion feature is available from the Pro plan.
In the project editing screen, click on the 'Settings' tab and activate the 'Brand Logo' button.
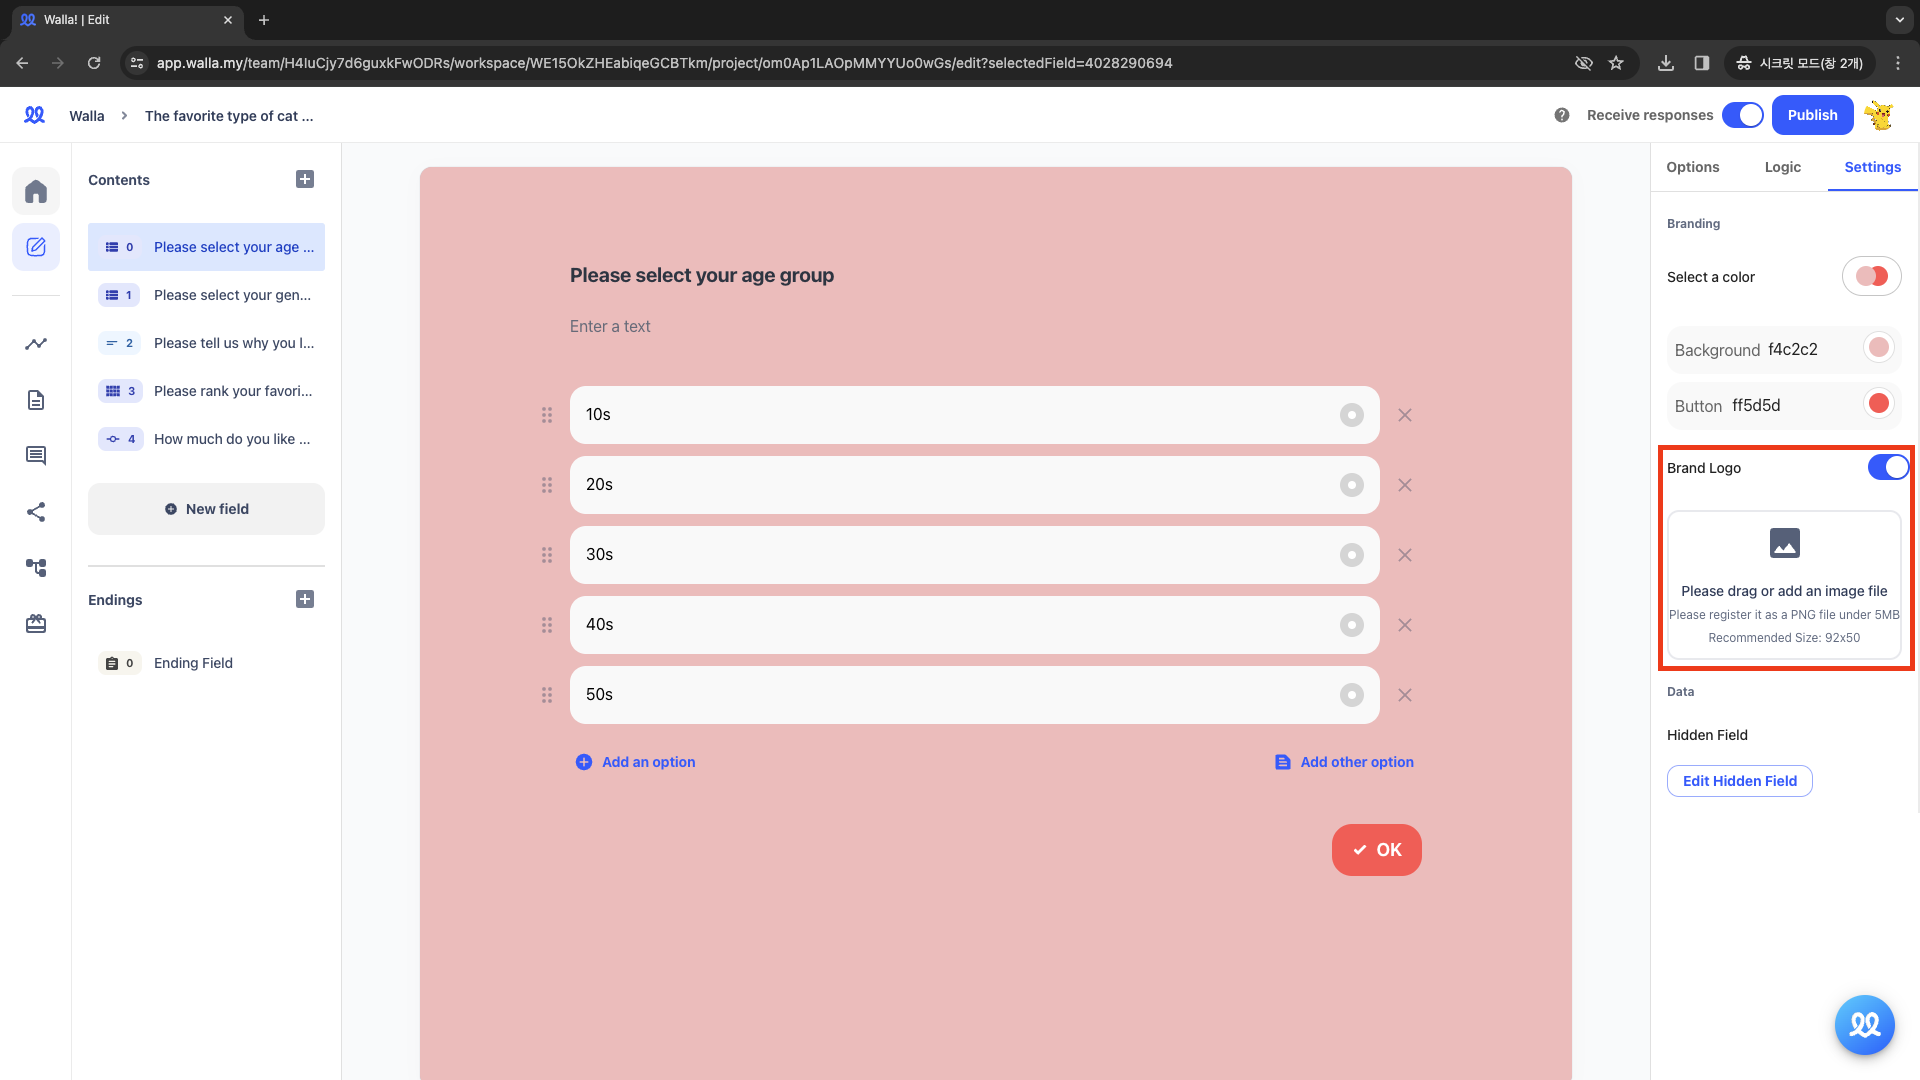
Insert the Logo for branding.
🔔
Do you want to check Walla's future development plans or suggest new features?
Click Product
Roadmap and Feature Suggestions